Page 10 of 27 FirstFirst 1234567891011121314151617181920 ... LastLast
Results 91 to 100 of 266

Thread: My second M715 build. What was I thinking?

  1. #91
    Join Date
    Sep 2010
    Location
    Middleville, mi.
    Posts
    1,245

    Default

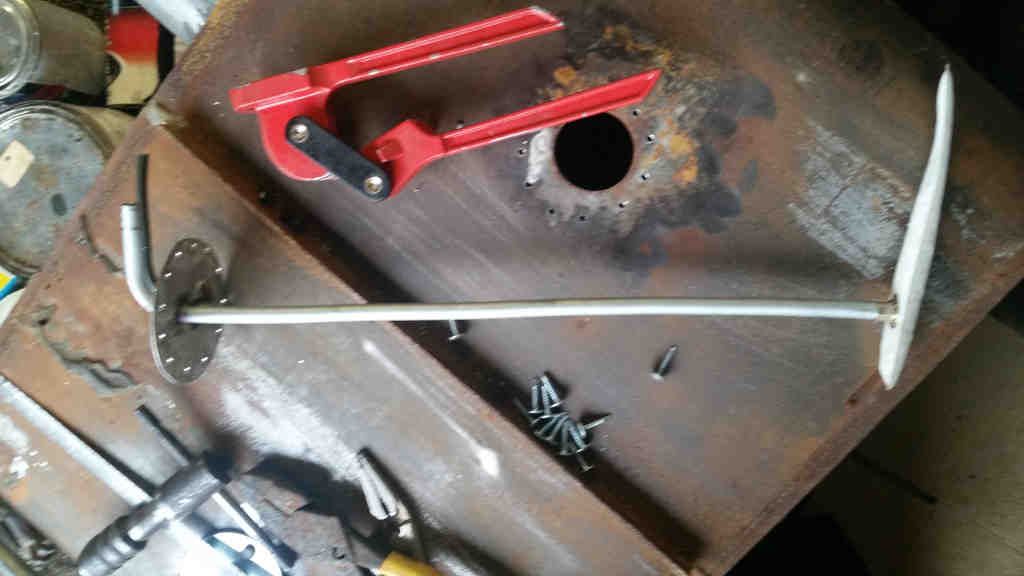
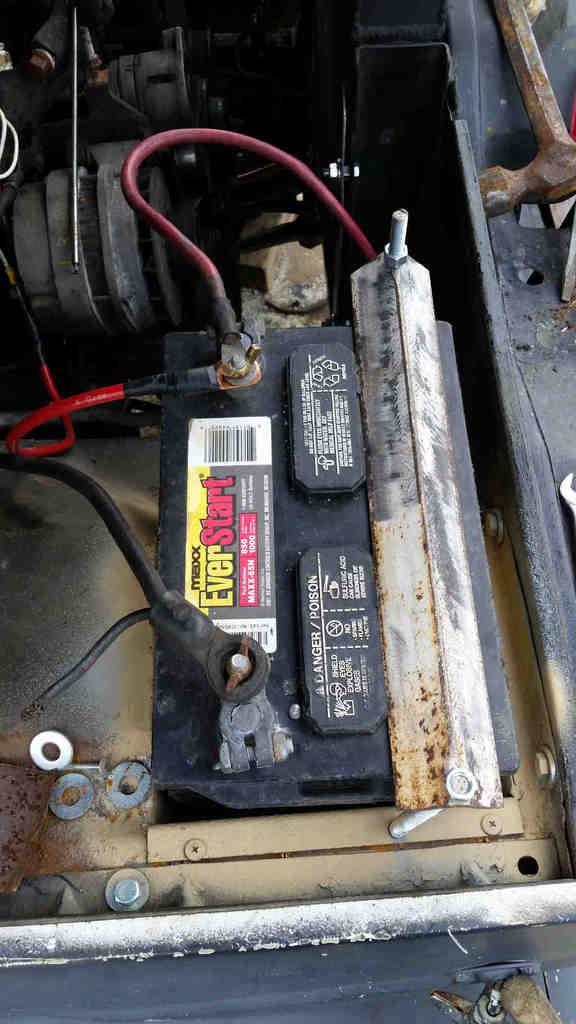
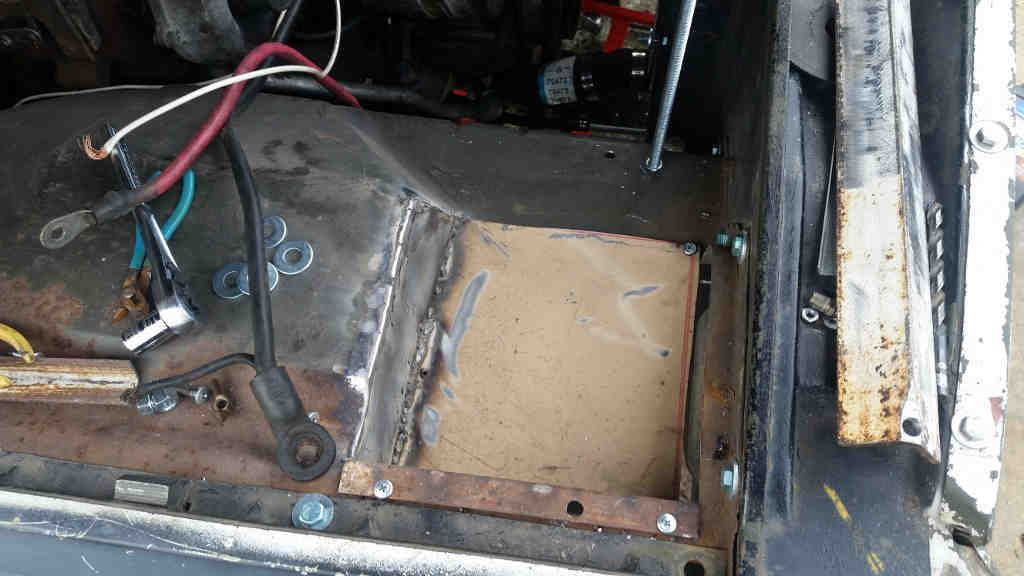
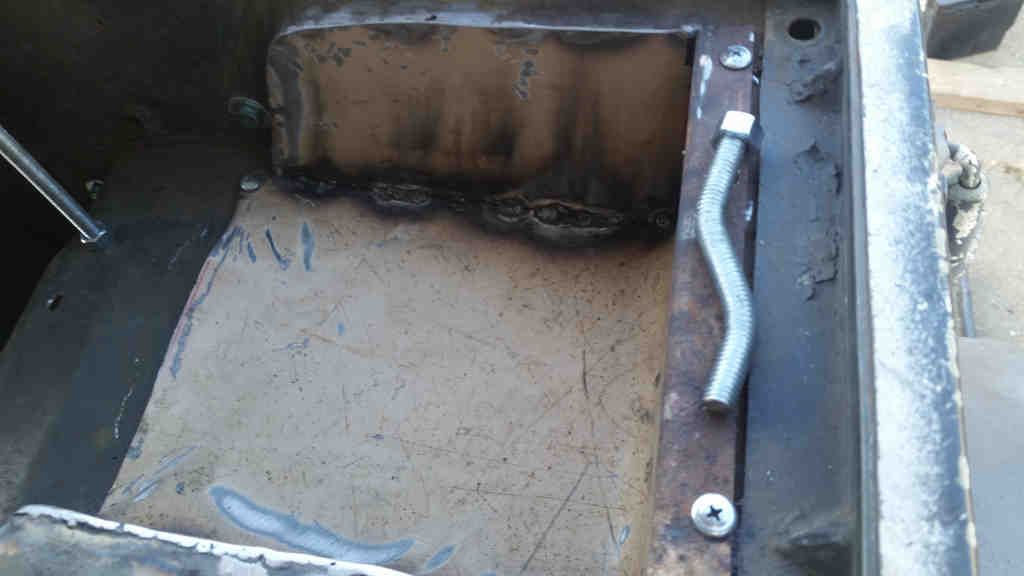
    Today I finally decided where I would put the battery. I will eventually have two batteries but needed to start somewhere. I cut the inner fender out where the fender was already flat.


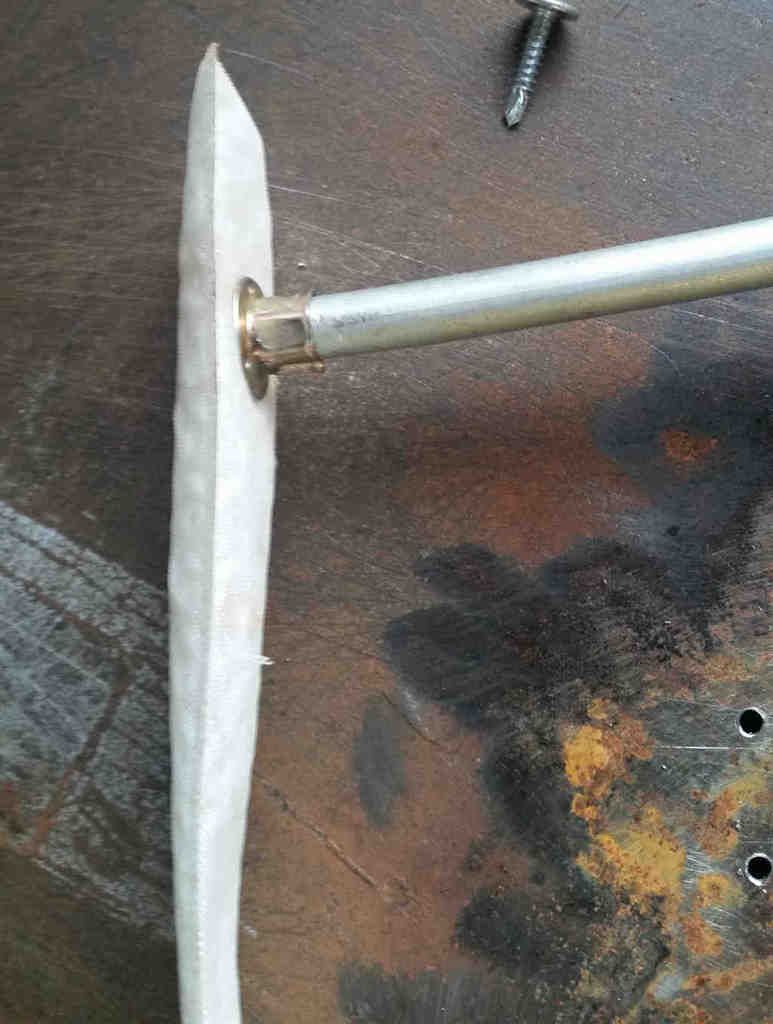
    To hold the battery down I used some threaded rod. I ended up needing to bend an offset in the rod because the angle iron I am using to clamp the battery down would hit the hood before it closed.


    I forgot to get a picture of the battery bolted in place today but will try to remember to get one soon.

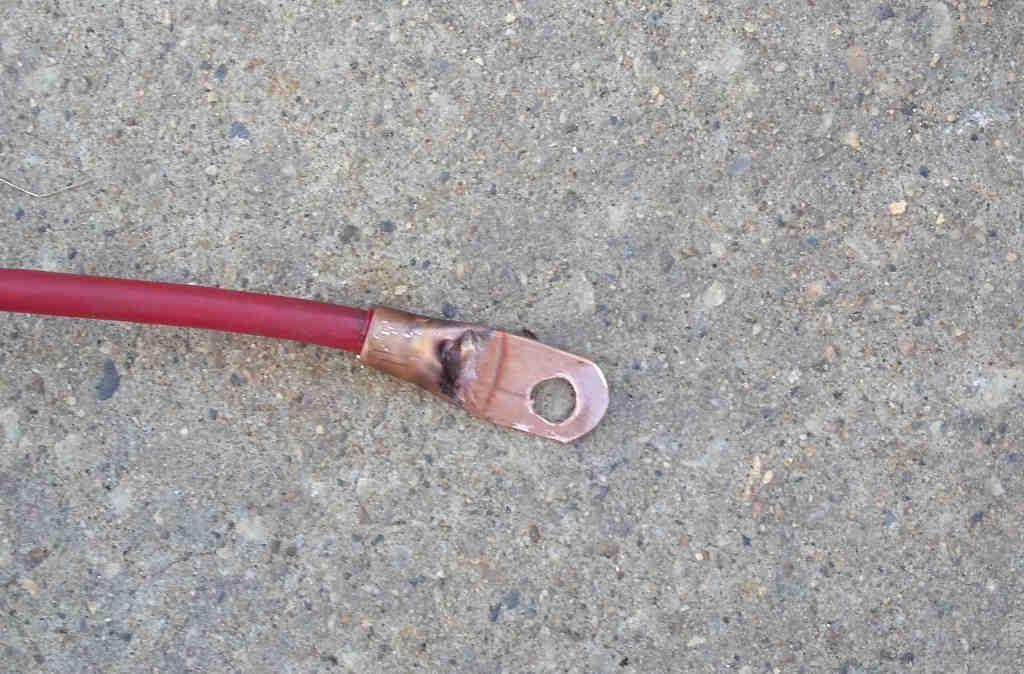
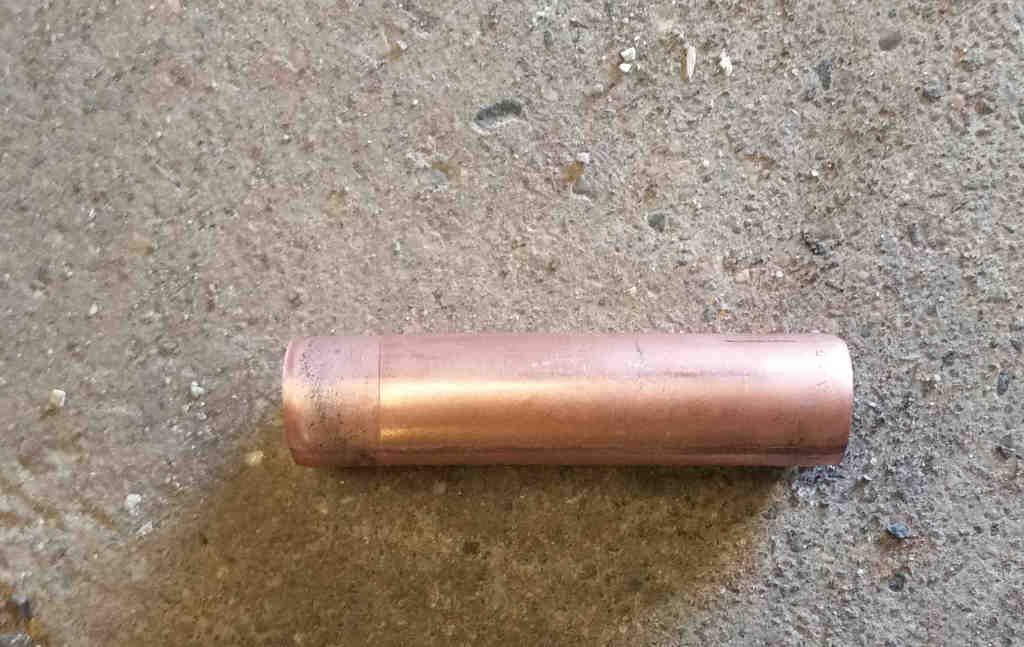
    After I got the battery installed I moved on to the battery wiring to the alternator and glow plug relay. I forgot to buy the lugs last week after work so I decided to use what I had on hand and build my own.

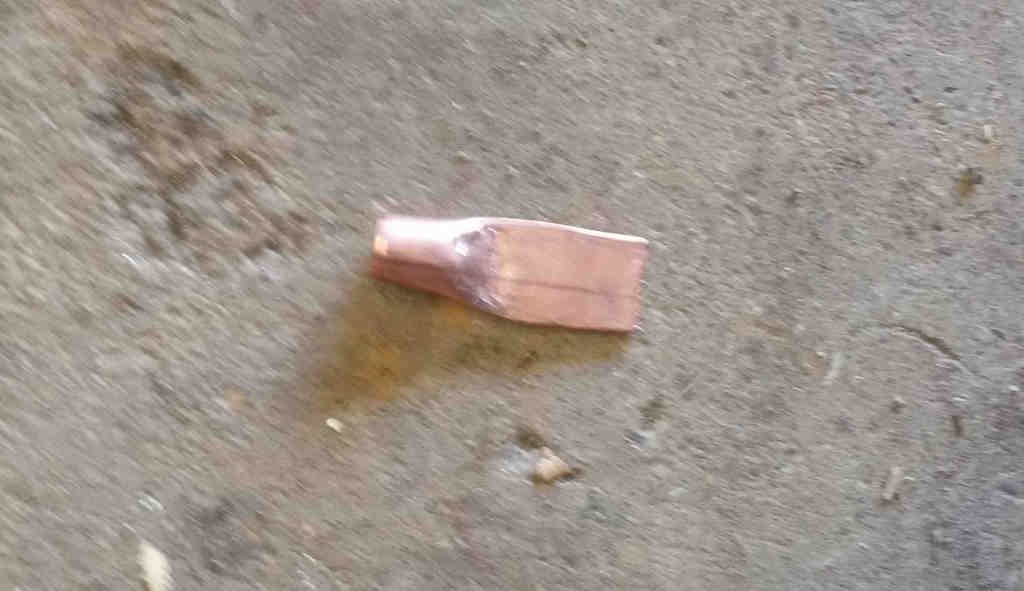
    I started with some scrap copper from the oil lines.


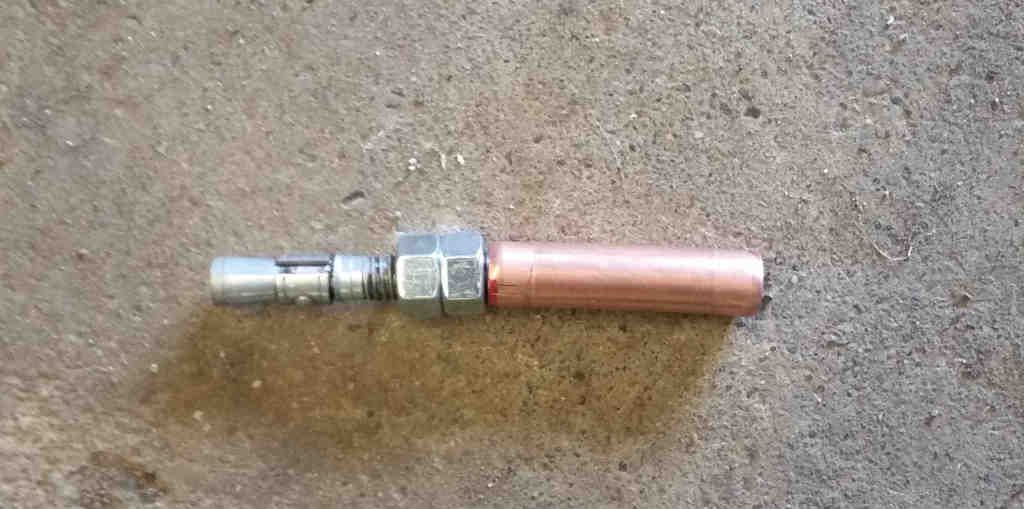
    I stuck a 3/8" anchor I had laying around to keep the lug round where the wire would be inserted.


    And filled the lug with molten solder and inserted some 2 AWG battery cable.


  2. #92
    Join Date
    Sep 2010
    Location
    Middleville, mi.
    Posts
    1,245

    Default

    Something happened between my phone and my computer that I haven't figured out yet. I can no longer plug my phone into my computer and transfer the pictures. I haven't done much lately anyway but I did take some pictures of it that will have to come later.

    I built my own fuel pickup tube and got it installed into the tank. I got the tank in place in the truck but not plumbed yet.

    I ordered some lifting shackles from here. The page says it is a set of four with no pins for $25. I'll report back when they come in with pics hopefully.

    I'm hoping to locate some pins locally. I am ready to customize pins as needed.

  3. #93

    Default

    I found Dropbox a very good free program for pictures. Ou can take them with your phone, they automatically upload to Dropbox from your phone, and you can download them from the net from your PC, you can even download the program on your PC.

    You won't need to transfer from your phone to PC , and anything on your computer can be had at your phone.

    Btw, check out combat engineers on Facebook, its a closed group but im sure we have room for you.
    68' LS TT 6.0 /4L85e /AMG 242

  4. #94
    Join Date
    Sep 2010
    Location
    Middleville, mi.
    Posts
    1,245

    Default

    Here is the pickup tube I made for my tank.


  5. #95
    Join Date
    Nov 2009
    Location
    Greenwood, Indiana
    Posts
    1,702

    Default

    Good progress Paul. What did you use for the pickup sock?
    Thanks, George
    Joshua 24:15

  6. #96
    Join Date
    Sep 2010
    Location
    Middleville, mi.
    Posts
    1,245

    Default

    Fuel sock is a Delphi FS0176.


    Today I got the fuel tank plumbed and the filler neck attached. I also installed an electric lift pump on the tool box by the tank so I could prime the fuel line from the cab if it ever runs out of fuel or after a filter change. (I don't have a fuel filter installed yet and will need to do that before I drive the truck too much.)


    And just because I forgot to show the battery installed.


    I ended up putting some water in the radiator and priming the fuel system with my new electric pump. The truck fired up pretty easily and idled pretty well. I didn't see any reading on the mechanical boost gauge and I don't have the EGT gauge wired up to 12 volts yet. I also haven't installed the fuel gauge into the dash yet.

    I started playing with the shifter cable but it got dark before I made any real progress on that. But I have an idea to work with next time I get the opportunity.

  7. #97
    Join Date
    Sep 2010
    Location
    Middleville, mi.
    Posts
    1,245

    Default

    I haven't been doing much to this project lately. I did build a bracket and attempt to get the shifter working but what I have done so far doesn't seem to be good enough. I can shift the vehicle into gear from the cab but the shifts are not accurate. I will need to rethink how I am doing that. No pictures of what I've done yet because it doesn't seem to work reliably. So I moved on to something else to keep my progress going.

    I removed the leaking power steering pump and disassembled it. I installed new seals and reassembled it. It seems to be leak free now and I have power steering and power brakes functioning.

    I also bought some more parts from Spgirard30.

    One of the things I bought was the Truck Lite LED headlights. Part number 27250C. They are 12 volt. I have installed them but have not aimed them or tried them out at night. They seem to be better than incandescent but aren't as bright as I thought they would be. I bought some knock-off evolution 2 lights from ebay last winter that seem to be just as bright and are whiter. I haven't gotten any pictures of them yet but may try doing a side by side comparison in the future for others to get an idea of what they look like.

  8. #98
    Join Date
    Sep 2010
    Location
    Middleville, mi.
    Posts
    1,245

    Default

    I spent a bit of time in the garage today removing the pintle from the frame. It was rusted in place pretty firmly and required a lot of persuasion to come out. I used a hydraulic jack and some wood pieces to press between the frame cross member and the pintle.

    The last time I did this (on my first truck) I bent the cross member slightly from the pressure exerted during the process. This time I put a 4x6 block in front of the cross member to spread the load more. It never did "pop" like the first one did. It needed to be pressed out the entire way. I ended up needing to hammer on a piece of solid brass to pound it out once the shaft was flush with the frame.

    I need to clean this hitch thoroughly. I got the shaft cleaned up enough but cannot figure out how the jaw pins get removed.

    I found this picture to help describe what I'm looking at:


    I need to remove number 5 from pins 6 and 7 but don't see how this happens. They appear to be a continuous ring. Anyone have any insight?

    Also anyone know how to remove rivet 10?
    Last edited by jeeper; November 26th, 2016 at 07:54 PM.

  9. #99
    Join Date
    Sep 2010
    Location
    Middleville, mi.
    Posts
    1,245

    Default

    Just in case someone else stumbles upon this I figured out the number 5 clips are spring clips. I haven't figured out what the proper name for them is though. Once I got enough rust out of the way I was able to see where I could pry to unwrap the spring clip from the pin.

    My son went to KLQ yesterday. They were having a 40% off day. He found a dipstick/tube for me. I haven't had a lot of time lately to be working on the truck so it's nice to have some small things that don't require a lot of time.

  10. #100
    Join Date
    Sep 2010
    Location
    Middleville, mi.
    Posts
    1,245

    Default

    No progress on the truck in a while. I need to replenish my truck funds before I can button up the rest.

    I have the M715 parked outside for the winter. I tried to start it today. The battery is too dead to turn the engine over. I jump started it and moved it closer to the garage and no sooner got the dead battery removed for charging and it started raining.

    I will be adding the second battery before the truck gets parked back in it's winter parking spot. I will be cutting the other fender and adding it in the mirror image location as the first battery. Should be able to do this with materials I already have on hand.

    I am currently trying to replenish my funds. My agreement with my wife is my hobby money will not come out of the family budget. It takes a while to get some of the bigger ticket items this way but I believe a happy wife makes for a happy life.

    One way I earn extra money is by flipping things. I am currently working on a 1995 Jeep Wrangler YJ. It had a rotted frame by the rear spring mount on both sides. I have the bulk of the frame repairs done and will be working on getting the body back on next weekend. This is by far the biggest "flip" I have done. And the most fun. I used to buy broken laptops and repair them. The repairs were physically easier but didn't net near the return as I'm hoping for with this flip.

    I didn't remember to take any "before" pictures but will probably get some "after" pictures before the body goes on.

Posting Permissions

  • You may not post new threads
  • You may not post replies
  • You may not post attachments
  • You may not edit your posts
  •  


Site Upgrade, Design Modifications & Administrative Support by:
Palm River Enterprises LLC, IT Solutions
President: Tom King, User ID=teking
This site is owned and operated by:
M715 Zone, LLC
President: Jon Schmidt, User ID=brute4c


If you have any suggestions, comments, problems or questions, contact:  brute4c@m715zone.com
Use of this site means you understand and agree to our TERMS OF USE

Copyright Notice:
This web site is subject to the protection of the copyright laws of the United States and other countries. Except for Personal Use Only, you may not modify, copy, distribute, transmit, display, perform, reproduce, publish, license, create derivative works from, transfer, or sell any information obtained from any part of the M715 Zone website without the prior written permission of M715 Zone, LLC. Written permission can only be obtained by contacting brute4c@m715zone.com

Copyright 1998-2024