If you're on Instagram, you can find me at #mike.oneill.5667. I usually post progress updates every two weeks or so. I'm going to school full-time now, so my time is limited.Originally Posted by Kaiserjeeps

 |
 |
|
|


 Private


If you're on Instagram, you can find me at #mike.oneill.5667. I usually post progress updates every two weeks or so. I'm going to school full-time now, so my time is limited.
 Sergeant

I still need the flat head screw for the door frame upper seal. It anyone has one.
It has been 11 to 13 degrees every morning. Soon there will be snow up to my waist. I have someone coming to look at my home thanksgiving week. I want to leave here.
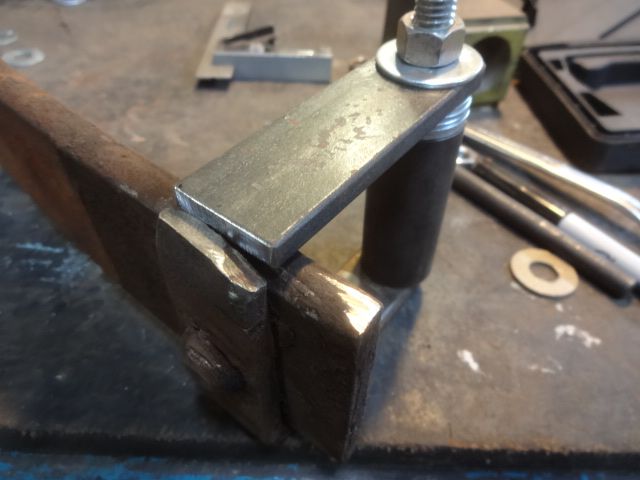
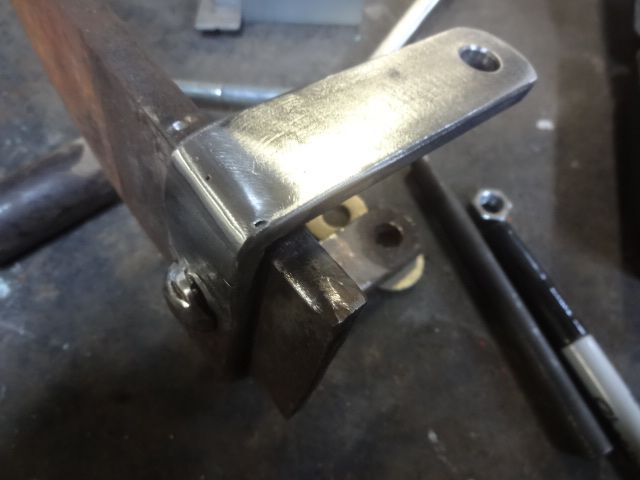
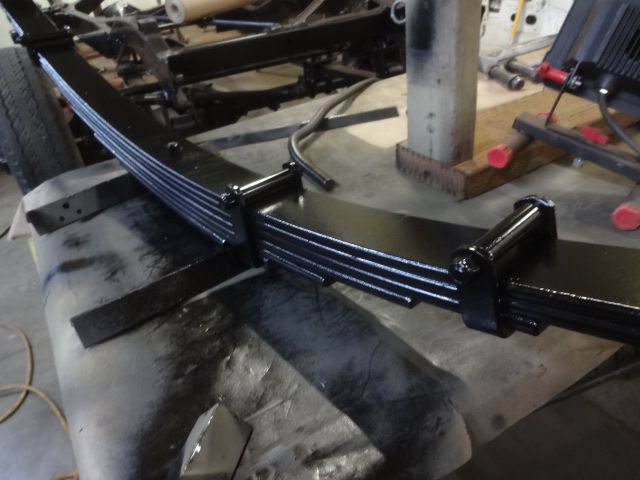
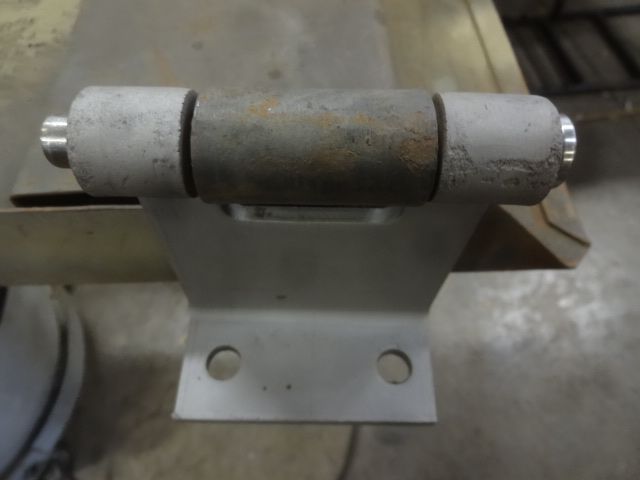
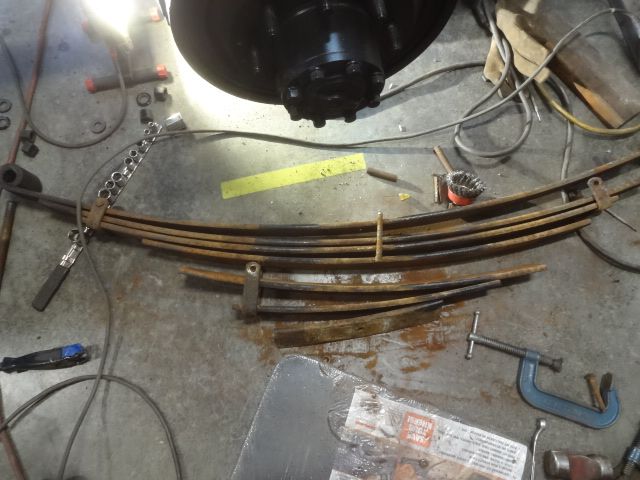
I reworked the rear springs. I had a torn off spring clip. I straightened what was there and welded a new piece on it.
The fix
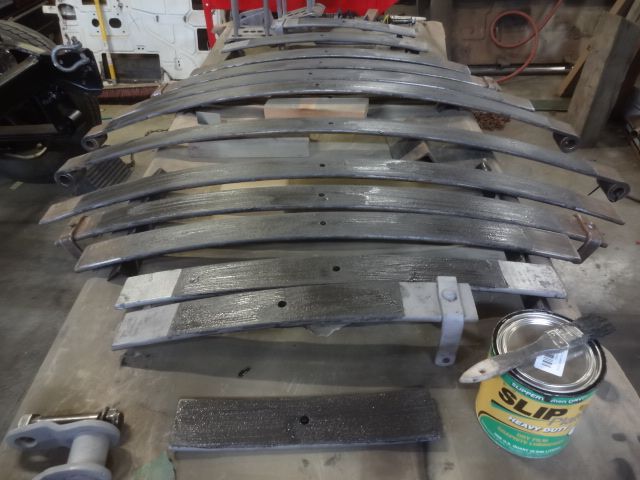
Then it took no less than 10 hours to sand or bead blast the leafs. They were really rusty and dirty. Only 3 of each spring pack fit inside the bead blasting cabinet. This was tedious.
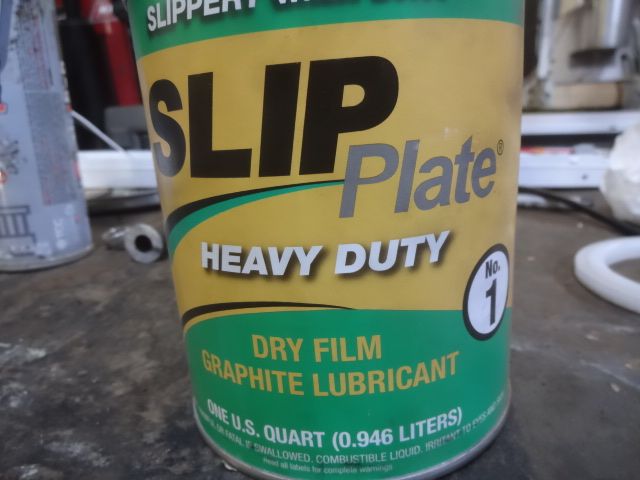
But I got them all really clean and sanded off the sharp edges on the ends that were stamping curls and cutting in the neighboring leafs. Then like member Fisherman I coated the contact patterns with slip plate number 1. This will improve the ride by 100%.
It is messy and slippery. I was trying to wipe the edges for nice paint work later It was not the way to go. I found a quick pass with the sander and a fast wipe with naptha was quicker after it was all dry.
I had to make 6 new spring clip spacers as mine were completely rotted. I used aluminum as I had some old winch tie rods that were perfect. Then painted them with Gillespie.
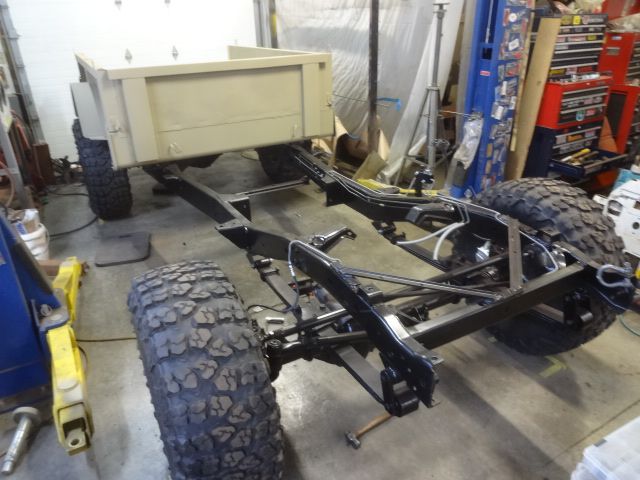
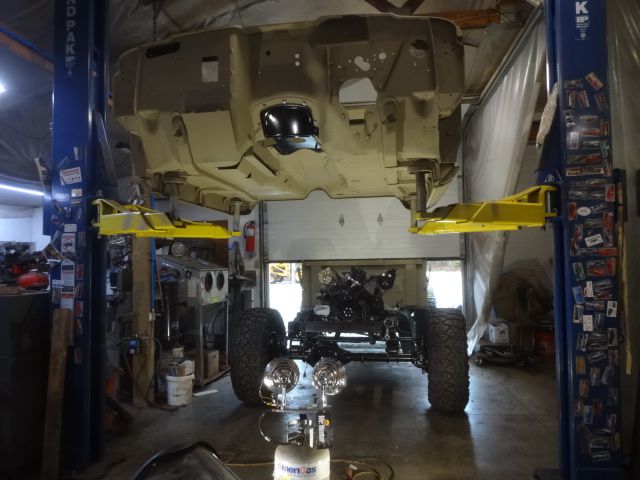
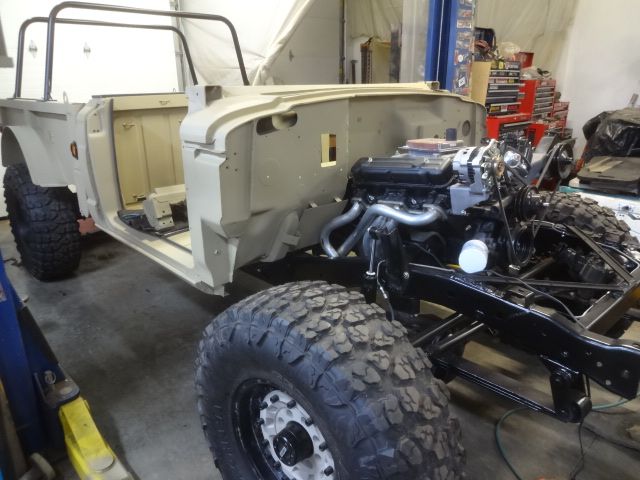
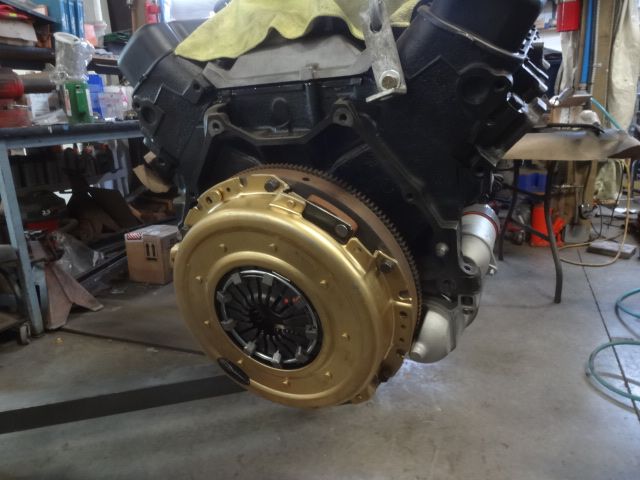
Got the motor loaded up and in. Same with the gearboxes. The bed is on and fuel and brake lines are in. It is starting to look as I imagined.
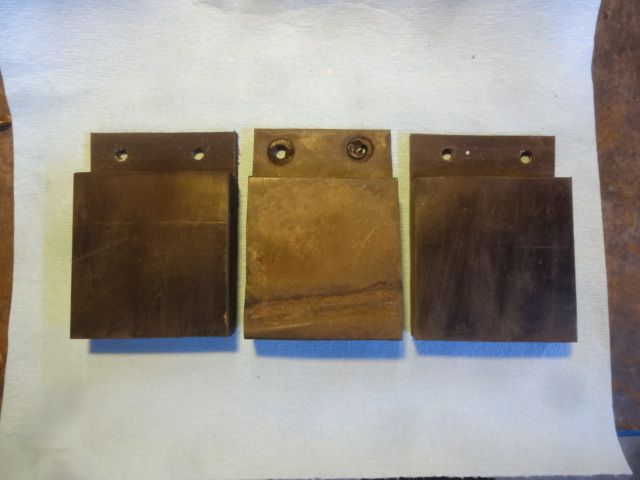
I only had one bed frame pad. I had some rubber and made two new ones.
Liz, covid, murdered 10/19/21
Sergeant
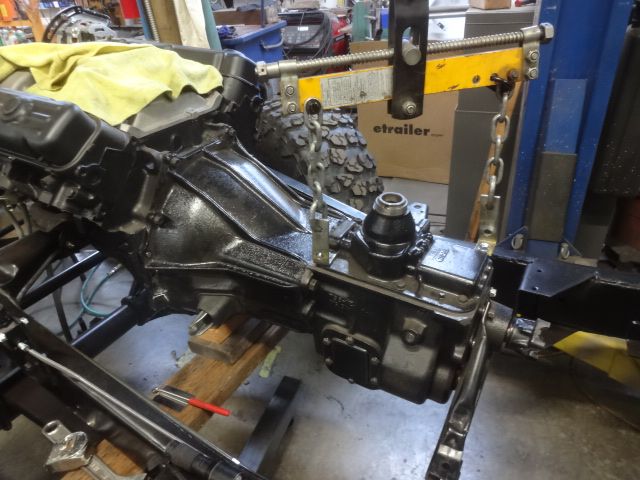
The Jeep J truck buick 350 bellhousing. About a mile long.
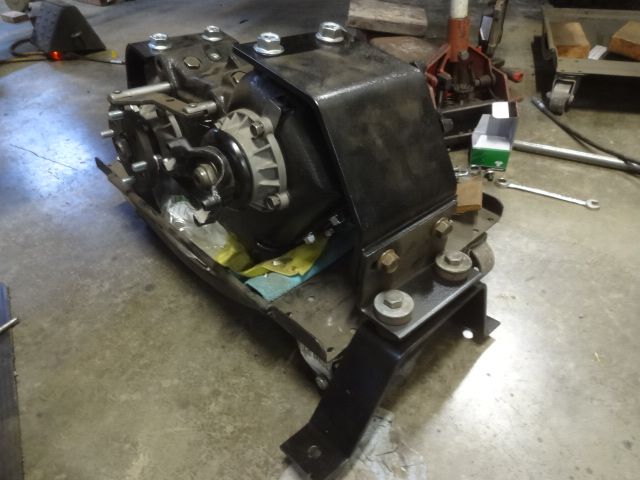
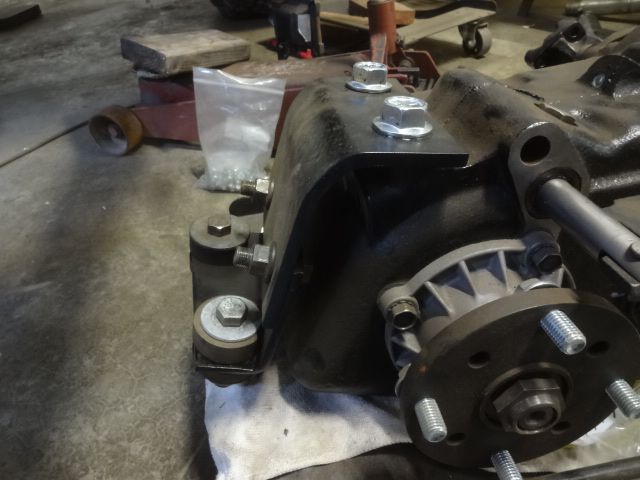
My International divorced NP205. The mounts I had to make to hang it in the truck.
I have been using a marine sealant on everything. Mercruiser perfect seal. On the bolts on the back of the trans that tend to leak, these upper flange head bolts as they have contact with gear oil. The perfect seal seems to work well.
More later.
Liz, covid, murdered 10/19/21
 Grand Poobah

What cant you do?
Great work...as usual!
Lord send your Holy Ghost into our hearts and make the desire of our hearts Your Will.
Pro-choice, that's a LIE, babies don't choose to die!!
Sergeant
Well since you asked... I sure can't remember much anymore despite trying. I put the OEM sloped transfer case strap mount and angle on backwards. I was supposed to have the slope to the back and the angle and shim was supposed to be behind the mounting plate, not on the outside of it. Thankfully I took a lot of pictures making everything. I am a lousy cook too. I'm sure there is a lot more depending on who you ask.")
Liz, covid, murdered 10/19/21
Sergeant
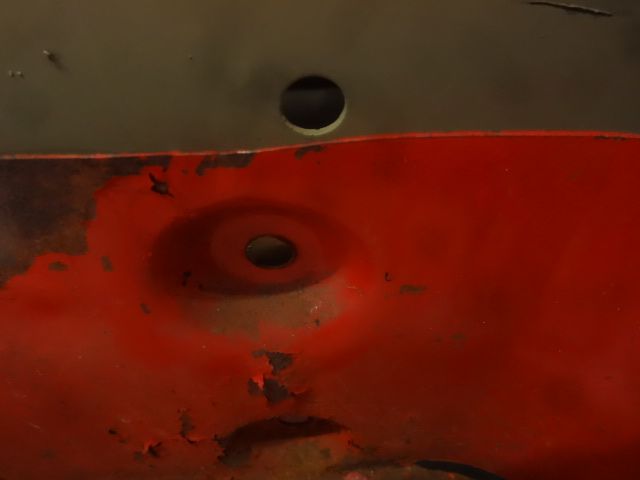
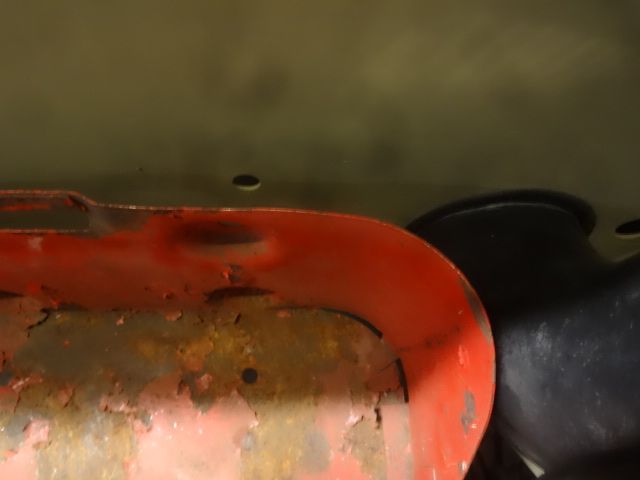
One part at a time. This is totally the fun part. Got a call from Gonz. It was so great to hear from him. He has the screws and as a bonus the seals I was looking for. Another outstanding helpful member. Thank you Gonz!! I have been running to town to get bolts. I wish I could find black bolts and screws that did not rust so readily. Oh well, it is a restomod. I was going to land the cab and lifted it up to do so. Got disgusted with the lousy paint under there. I ended up putting on some rust seal, new seam sealer and tan paint. At this point this is all corrosion protection. I am really grateful to Glenn for setting me up with this cab. It is in superb shape.
Anything I can install I am. I need to make room and get after the unpainted body parts. I still have tables covered in parts.

Last edited by Kaiserjeeps; November 8th, 2023 at 12:03 PM.
Liz, covid, murdered 10/19/21
Sergeant
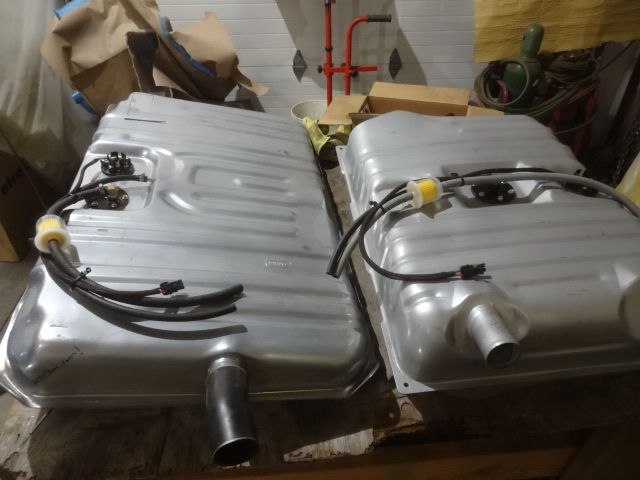
Crap, it is snowing. Funny I am working on the heater rebuild. But previously I got the fuel tanks ready to land. I had to make a fuel pick up for the front El Camino tank, and a return port for the rear 41-48 Chevy extended range tank. These tanks were bought from Tanks Inc. I looked at every tank they made and these fit the best. I am using weather Pack connectors on this truck. They are sealed and reliable.
Ready to install. And they are in. Fuel fillers and everything. I followed up with the already built complete dual exhaust system. All is done. This is great.
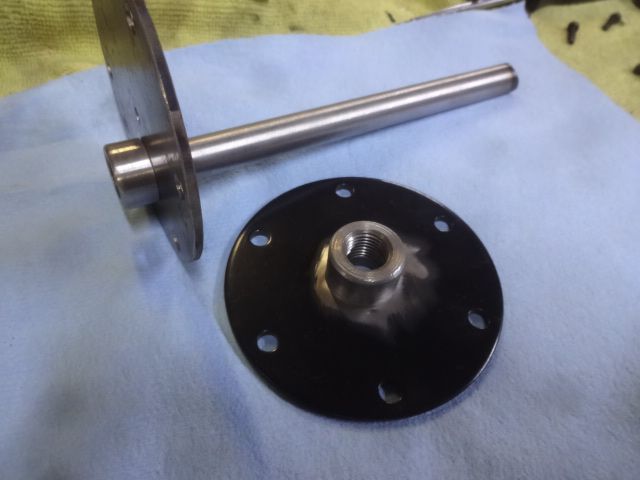
The pick up and return. Stainless Steel...
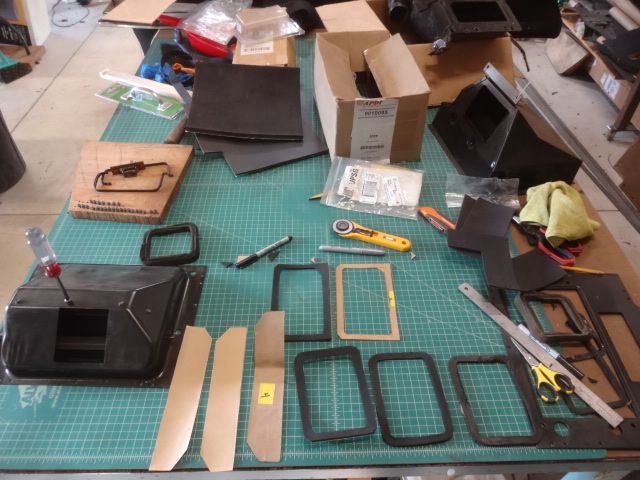
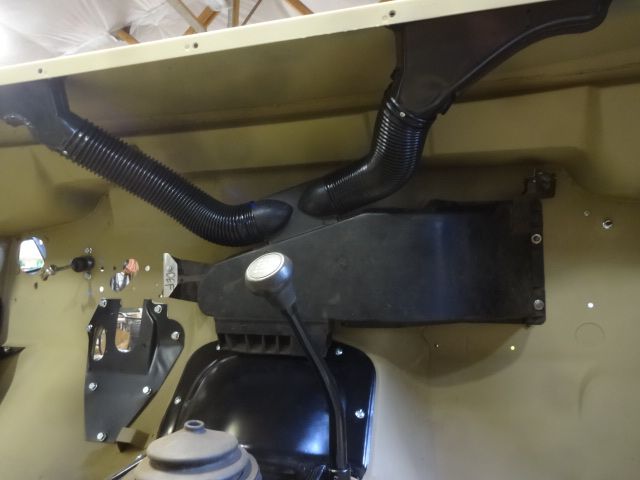
And new gaskets on the entire heater. The blend door too. All the correct size adhesive backed foam can be bought at Mc Master Carr in 12 x 12 sheets. I had patterns from my 70 wagoneer rebuild. Go figure I have 3 OEM full size jeep correct heater cores, they all have a leak. I sure would like to figure out how to fix a heater core. The replacements are 1/2 thinner and you need to modify the hold down straps to keep them in place. I am waiting for the new heater core to show up to finish this rebuild. Then on the truck it goes. FYI, the later 80's wagoneer heater motors are faster and the fan is much bigger than the late 60's or early 70's heater motors. These have a fiberglass case with a metal flanged motor. They MOVE air.
Gonz sent me a great care package. The screws for the door frame and seals I was needing. Outstanding... Thank you Gonz. Very grateful.
Last edited by Kaiserjeeps; November 15th, 2023 at 11:28 AM.
Liz, covid, murdered 10/19/21
Sergeant
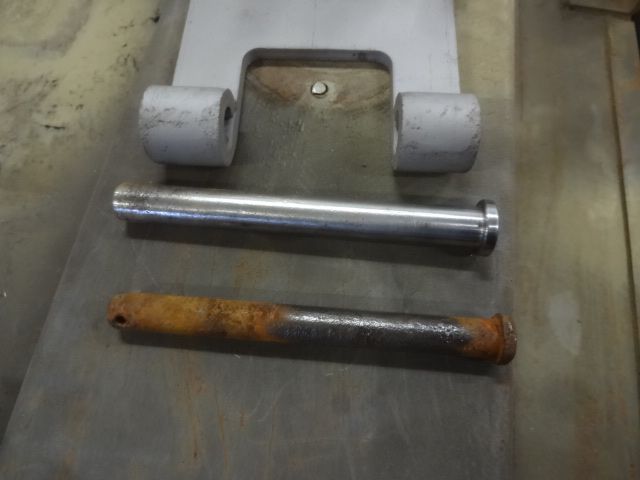
I don't like it when I buy something then hide it from myself. I bought some 1/2 long bolts to make new pins for the tailgate hinges. I needed one more so I bought 5 and hid them. But they will turn up. I discovered the hinges were extremely loose. The pins are .425 in diameter. Taking a long shank 1/2 inch bolt and turning the head down and cutting it for length makes a new pin that measures .493. I chased the holes with the right drill bit and they are once again a nice fit. I did not need to remove much from the holes. It worked great. I still need cotter pin holes. I will get to that.
Installed for a fit test.
I have been putting stuff on the truck. Hood hinges, brackets etc. This is a wagoneer defroster and floor unit with the vacuum cans removed. It was simple to make metal flags to hold a cable control system. I had custom decals made to surround the push pull knobs that will reside in the bottom of the dash. That will get done later. The defroster fittings are ford mustang. I had to modify them by adding a short flag on one end to reach the mounting stud, and cut out a big notch for the headlight switch. I glued in a piece of ABS sewer pipe with ABS glue. It worked great as the fittings were ABS.
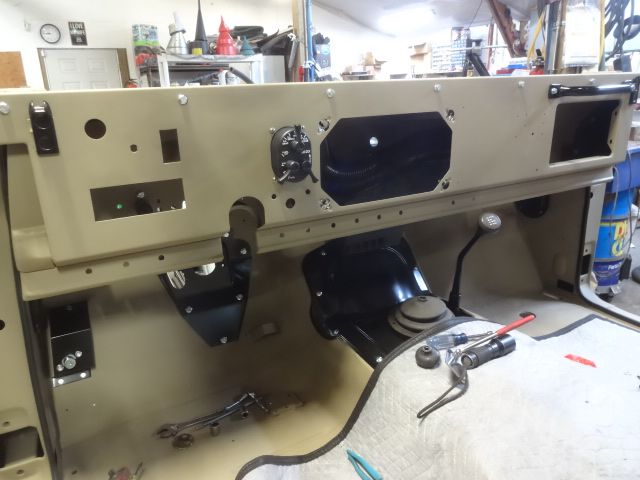
The dash is on.
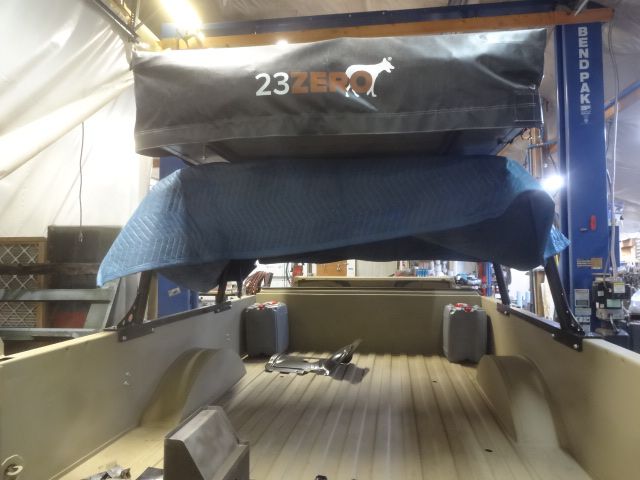
Some neighbors came over and helped me put the roof top tent on the rack. I have some tubing clamps coming to get it mounted down with a solid mount that will be off-road capable.
This part of a build is always fun.
Liz, covid, murdered 10/19/21
Sergeant
I have some good progress to post. But I am a little behind and trying to catch up with home stuff. Jon I forgot to take the big blueprint of the heater to town. I will go back.
Here is something I am wondering about. My non m715 jerry can holder hits the OEM fuel filler. By quite a bit. Are the M715 jerry can holders made differently? Am I just not pushing it in place hard enough? Have a look...
Liz, covid, murdered 10/19/21
Sergeant
Does anyone have a picture of an original can holder? Is it thicker than this very thin tin thing?
Liz, covid, murdered 10/19/21
 Posting Permissions
| Site Upgrade, Design Modifications & Administrative Support by: Palm River Enterprises LLC, IT Solutions President: Tom King, User ID=teking |
This site is owned and operated by: M715 Zone, LLC President: Jon Schmidt, User ID=brute4c |
|
Copyright Notice: This web site is subject to the protection of the copyright laws of the United States and other countries. Except for Personal Use Only, you may not modify, copy, distribute, transmit, display, perform, reproduce, publish, license, create derivative works from, transfer, or sell any information obtained from any part of the M715 Zone website without the prior written permission of M715 Zone, LLC. Written permission can only be obtained by contacting brute4c@m715zone.com |
 |
 Where can I find pictures of your truck?
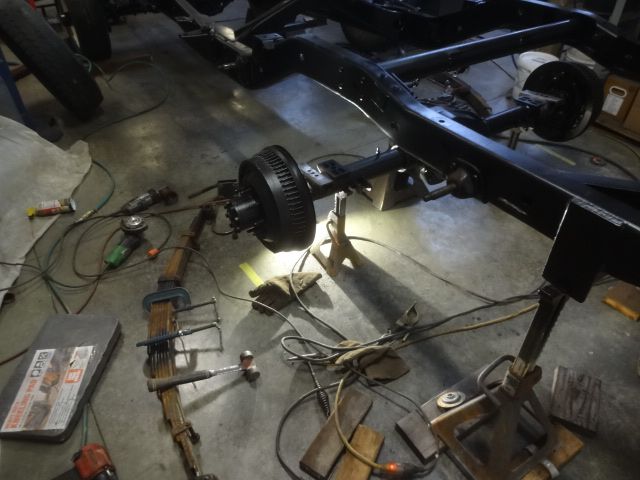

 Reply With Quote