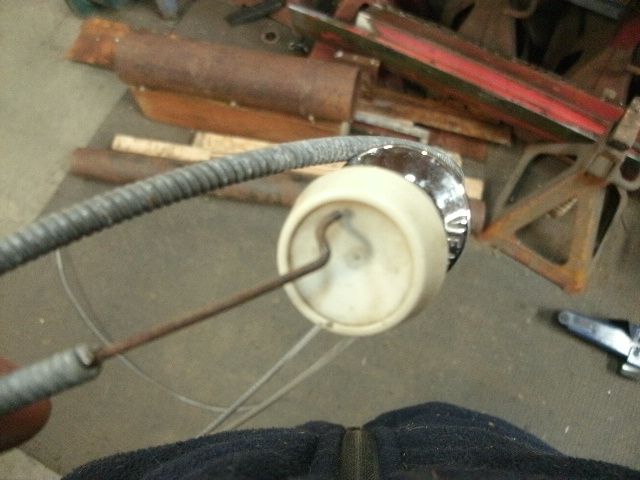
Well you beat me to it. I had to look a little but found a pair with covers. I don't have the knobs as I only have one set. But you could probably find them or use a throttle push pull knob set. The hard part would be finding one 73 inches long. The drivers side is 30 knob to bent rod tip. This is the bend you need. RC model stores have the Z bend pliers cheap that will make the correct rod end. Don't let the dirt fool you. They clean up well.
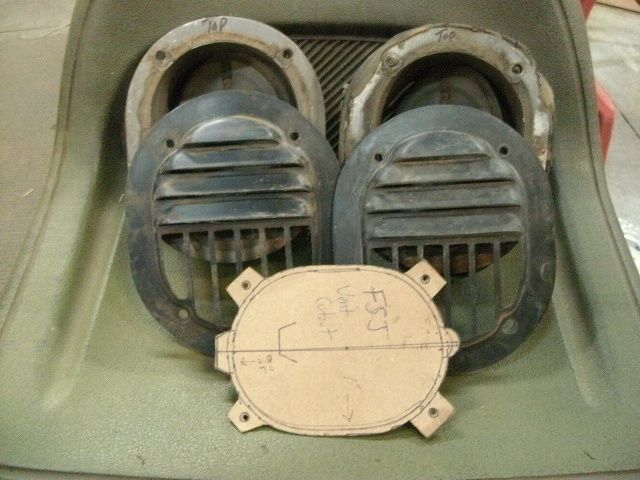
Now I found these. If you want them they are yours. Because of the generosity of M38inmaine, I now have a chance to pay it forward. If you would like these Tom, PM me your address. I will send them. If you find a set on ebay with the push pull knobs for a good deal, maybe that would be a good path. But these are yours if you like. I will include the cardboard pattern and correct location too.

I am wanting to work on the truck today. To much to do... It will be there later I am sure. Back to work I go.


Originally Posted by teking


 Reply With Quote
 Send (PM) me your address and I will get them on the way. Your mission, should you decide to accept it, is to pay it forward someday with another zone member.