Page 7 of 27 FirstFirst 1234567891011121314151617 ... LastLast
Results 61 to 70 of 266

Thread: My second M715 build. What was I thinking?

  1. #61

    Default

    Judging by the way the corvette master looks i.e. rust i bet the bore was a bit rusty also and the piston was getting stuck??? Or perhaps just got cocked to the side and jamed up. If either of these are thd case then it eill happen again, just remember that.

  2. #62
    Join Date
    Sep 2010
    Location
    Middleville, mi.
    Posts
    1,245

    Default

    The outside of the master is indeed very rusty but the bore was clean. That cylinder was new only a few years ago. Probably 2012 or 2013 I think. You sure couldn't tell by looking at it though. It still had fluid in it and the fluid looked clear. The inside of the reservoir and bore looks like new still. If it happens again I will for sure be replacing it. I intend to test it quite a bit before I take it on the road.

    I tried to spend the day working on things on the truck that didn't require me to run to town for parts.

    I took lots of breaks and even took a nap today during the heat of the day.

    I ran a new brake line from the master cylinder to the rear axle.

    I swapped the throttle pedal assembly from the old cab. It was rusted stuck from sitting for so long. I took it apart and wire brushed all the rust off and sprayed some silicon grease on the bushings. It works as good as new now.

    I mounted the front core support and loosely fitted the drivers fender in place.

    I'm struggling with the hood though. I wanted to get the hood installed so I don't have to keep covering the engine every night with a tarp. I haven't run across this issue before and I'm not sure what happened but for some reason the hood seems too long. What I mean by that is with the hinges bolted to the cab and the hood bolted to the hinges the hood has about an inch gap at the cab and overhangs the core support by about the same amount too much. And this is with the hood slid all the was back in the adjustment slots of the hinges.

    I'm using the original hinges from the other cab and a different hood. I measured the original hood and mounting holes and everything measures the same between them. Anyone ever see this or have any ideas what is going on?

  3. #63

    Default

    Oh brother, im from Erie PA, up your way, and I know about rust.
    Im still collecting parts for my M715 project, but i remember looking for a rust free jeep and really lucked out.
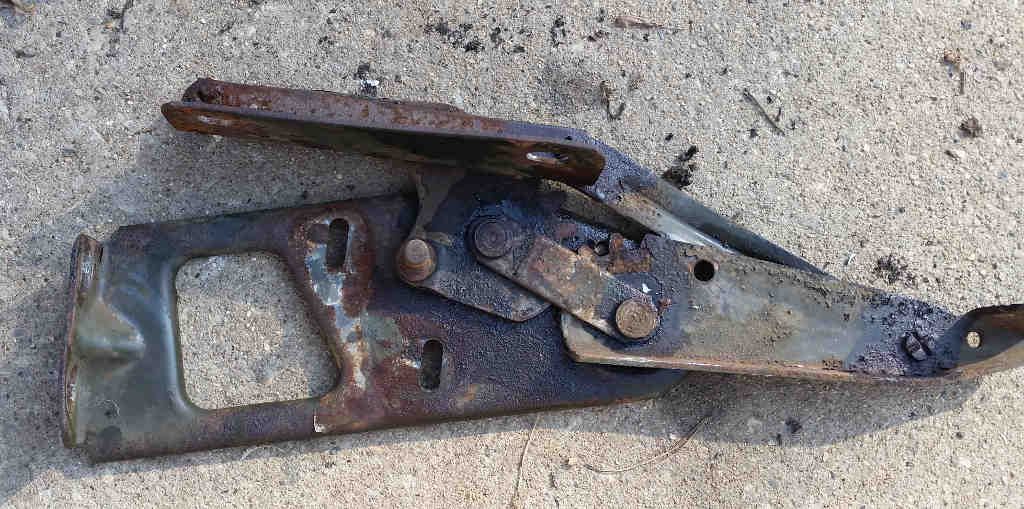
    My truck went from the Montana fire department to a open field by a mountain. . It also has a HT, probably saved the cab.

    My 72 GTO was a Florida parts car, again avoiding our lovely rust belt. I sware, anything thats lived in our neck of the woods looks like it was fished out of the cargo hold of the Titanic.

    I will be posting videos of my project on YouTube, i would love to see yours on it as well.
    68' LS TT 6.0 /4L85e /AMG 242

  4. #64
    Join Date
    Sep 2010
    Location
    Middleville, mi.
    Posts
    1,245

    Default

    Quote Originally Posted by RAMairGTO72 View Post
    Oh brother, im from Erie PA, up your way, and I know about rust.
    Yup. The best bet is to avoid it but another option is to replace it with metal that isn't rusted. Some around these parts call rust "iron moss".

    I notice in your signature you are/were a combat engineer? What branch and what unit? I was a combat engineer in the Marine Corps from 1984-1988.

    It's almost too hot here to work on the truck today. The thermometer in my work truck said 95. And it feels like it's about 75% humidity.

  5. #65
    Join Date
    Sep 2010
    Location
    Middleville, mi.
    Posts
    1,245

    Default

    I decided to sweat it out and get at least a little done this evening.

    I started off fixing the blind nuts that fell out when I was removing the hood hinge. Here it is with no nuts.


    So I drilled a hole and inserted the nuts back in. I held the nut in place using the hinge bolt while I (mostly blindly) tack welded the nuts back in place.


    Once I completed that I started on the hinges themselves.


    Turns out they were suffering from rust too. The rust wasn't allowing them to go full travel up and down. I took the springs off and worked some oil into the pivot points until they moved freely.


    My hood now opens and closes correctly and doesn't have an enormous gap at the cab.

  6. #66

    Default

    It's a small world brother!
    I was a Combat Engineer from 00' to 06', got hurt, got retired, 90%.
    When I was at Fort Leonard Wood I helped train Engineers from all the branches, and at the time UN nations.
    It's unfortunate that the USMC didn't spend the money on training Combat Engineers better, I expected the Navy and Air Force to not be up to speed, but not the USMC.

    It really was the first time I understood the damage that Bill Clinton did to the services.

    In any case, once you got them to cut down to around 3 F bombs in a sentence and got past them telling not only everyone but also each other how much better they were then everyone else, they learned rather well.

    You would always know when Marines were running a platoon or squad exercise as they were arguing with each other lol.

    My slight claim to fame was requesting splitting up the groups and adding our cadre to the mix. I made some great USMC friends out of that, all from PI oddy.

    Thanks for serving brother, Combat Engineers are the most over used and under appreciated of Combat Troops.

    I miss my yesterdays.

    I love your project, you really got in deep with this, and even I can see light at the end of the tunnel. You made me think about my space for turbo routing. I really thought we had more room under the engine.

    Im looking to do an LS 6.0 turbo swap. I plan on running 1 turbo on the passenger side, so i think going behind the engine on the driver and up under the flipped passenger exhaust manifold.

    However im starting to think your son has the best idea and doing a flip kit.

    Despite almost bleaching my eyes in these fourms, i still have no idea what front and rear axle to look for. I know a D60 / 14 bolt or D80 are my choice, and I know that they have to be wide, i just can't seem to nail down a year or years, on one post the guy says a 14 bolt from a van or box van with disks fit right in save for a shock.

    Its not like i don't wanna fish around in junk yards, because I like that..i do.. I would rather know what I need. I don't want to move shackles or cut up an axle. ..

    If you could help with any insight. . I would appreciate it brother, also what PS box and arm are you using? I know a guy on here is using, i think a TJ jeep steering box?

    I know this is a big post, being retired tends to put you a little "off", then again us Combat Engineers have to be a little "off" to start with lol
    68' LS TT 6.0 /4L85e /AMG 242

  7. #67
    Join Date
    Sep 2010
    Location
    Middleville, mi.
    Posts
    1,245

    Default

    Quote Originally Posted by RAMairGTO72 View Post

    Despite almost bleaching my eyes in these fourms, i still have no idea what front and rear axle to look for. I know a D60 / 14 bolt or D80 are my choice, and I know that they have to be wide, i just can't seem to nail down a year or years, on one post the guy says a 14 bolt from a van or box van with disks fit right in save for a shock.

    If you could help with any insight. . I would appreciate it brother, also what PS box and arm are you using? I know a guy on here is using, i think a TJ jeep steering box?
    I'm probably not much help on the axle swap. I haven't done it yet. I probably will be on the next one though. But I will probably use what I already have which is a semi floating 14 bolt rear and a dana 44 front. The rear came from a 1990's era light duty 3/4 ton and the front came from a square body light duty 3/4 ton. They are both currently on a Blazer frame. I am anticipating doing a bunch of cutting and welding to get them to fit.

    There is a sticky in the Modified section about axles.

    Axles that can be swapped in place of the stock axles


    As for my power steering box I am not sure if I remember correctly but I think it came from a 90's era S10. It fit better than the last one I did which came from a 80's Wagoneer. The FSJ box was a little long and I had to modify the frame a bit to fit it in. This one fit like it was supposed to be there. I think it is also a fast ratio box. Something like 4 turns lock to lock I think. I will verify that later. The pitman arm came from BJ's Off Road.

  8. #68

    Default

    As far as axles go, I found out that you can use a 1986-1996 F350 Dana 60 axle. You can't use the Super Duty axles. If you plan on going spring over it does bolt right in. It has the exact spring perch width, 36.5". I got a D60/Sterling 10.25 out of an F350. They are very beefy and were pretty cheap compared to other one tons. The Sterling will need the perches moved but the front looks like it won't need hardly any modifications except maybe shock mounts.

  9. #69
    Join Date
    Sep 2010
    Location
    Middleville, mi.
    Posts
    1,245

    Default

    Quote Originally Posted by M715er View Post
    As far as axles go, I found out that you can use a 1986-1996 F350 Dana 60 axle.
    Wouldn't that axle put the axle carrier on the drivers side? Then you would need a drivers side drop transfer case?

    I didn't get much done to the truck since the last update. Just a few boring things that aren't even complete yet. I did decide how I am going to rig up my manual wastegate for the turbo.

    I cut the stock vacuum wastegate and cut some threads into the rod.


    I found some old dies that my dad had. I tried 1/4x20 but the rod was too small for that. My next smallest die said 3/16x24. It was a little too small so I had to grind the rod down a little to get that to work. I learned today when I went to get a 3/16x24 tap that it doesn't exist. But a 10x24 tap is correct...


    Here is the stock vacuum gate bracket modified with the rod ready to have the spring attached.


    I don't have the rest done yet but I plan to thread a 3/8 rod onto the stock rod. I will drill and tap the new rod to thread onto the stock rod. That should give me ample adjustment capabilities.

    I also spent some time fitting my new radiator into the truck. It didn't actually fit that good and I had to space it back from the core support and down because it was too tall otherwise. If the cross bars were still on the frame it wouldn't have fit.


  10. #70
    Join Date
    Sep 2010
    Location
    Middleville, mi.
    Posts
    1,245

    Default

    Another step forward. Now I need to find a valve spring.


Posting Permissions

  • You may not post new threads
  • You may not post replies
  • You may not post attachments
  • You may not edit your posts
  •  


Site Upgrade, Design Modifications & Administrative Support by:
Palm River Enterprises LLC, IT Solutions
President: Tom King, User ID=teking
This site is owned and operated by:
M715 Zone, LLC
President: Jon Schmidt, User ID=brute4c


If you have any suggestions, comments, problems or questions, contact:  brute4c@m715zone.com
Use of this site means you understand and agree to our TERMS OF USE

Copyright Notice:
This web site is subject to the protection of the copyright laws of the United States and other countries. Except for Personal Use Only, you may not modify, copy, distribute, transmit, display, perform, reproduce, publish, license, create derivative works from, transfer, or sell any information obtained from any part of the M715 Zone website without the prior written permission of M715 Zone, LLC. Written permission can only be obtained by contacting brute4c@m715zone.com

Copyright 1998-2024